Gridphase Handheld Device: Getting Started Guide
Congratulations on receiving your Gridphase handheld device! Get ready to identify phases swiftly. Follow these steps to set up and start using your device.
Setting Up Your Device
-
Wake from Shipping Mode: If your device is fresh out of the box, it's in shipping mode. To wake it:
- Use a toothpick or needle.
- Push the button inside the hole near the USB-C charging port.
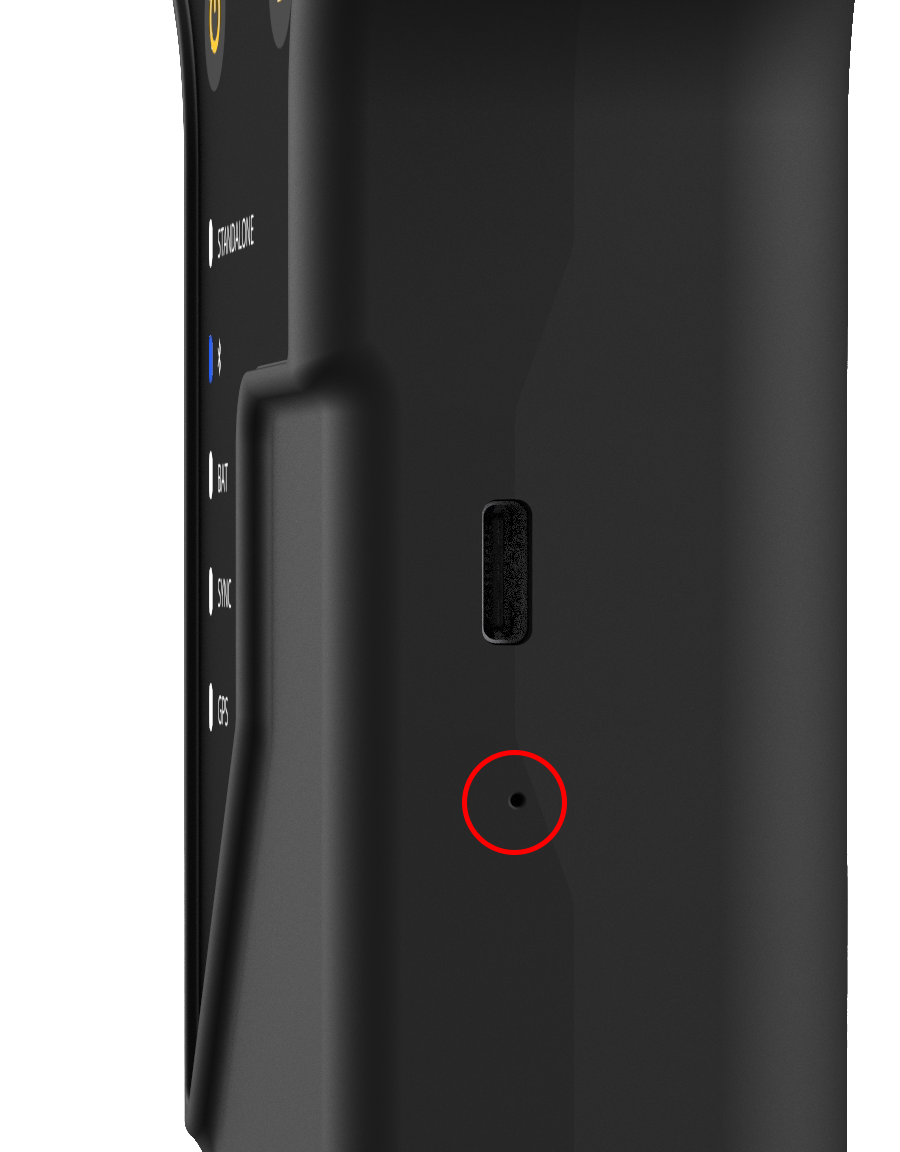
-
Powering On:
- Press the power button.
- Ensure the battery is sufficiently charged to power on the device.
If the device emits a prolonged beep, the battery LED flashes, and then it shuts down, it means the battery is empty.
If the battery LED flashes when the device is powered on, this indicates that the battery is low.
- Device Initialization:
- Upon powering on, listen for two short beeps indicating successful initialization.
- Post initialization, the device becomes discoverable via Bluetooth.
Gridphase Mobile Application
To interact with your device, you'll need the Gridphase mobile app:
Pairing Your Device
- Install and open the Gridphase mobile app.
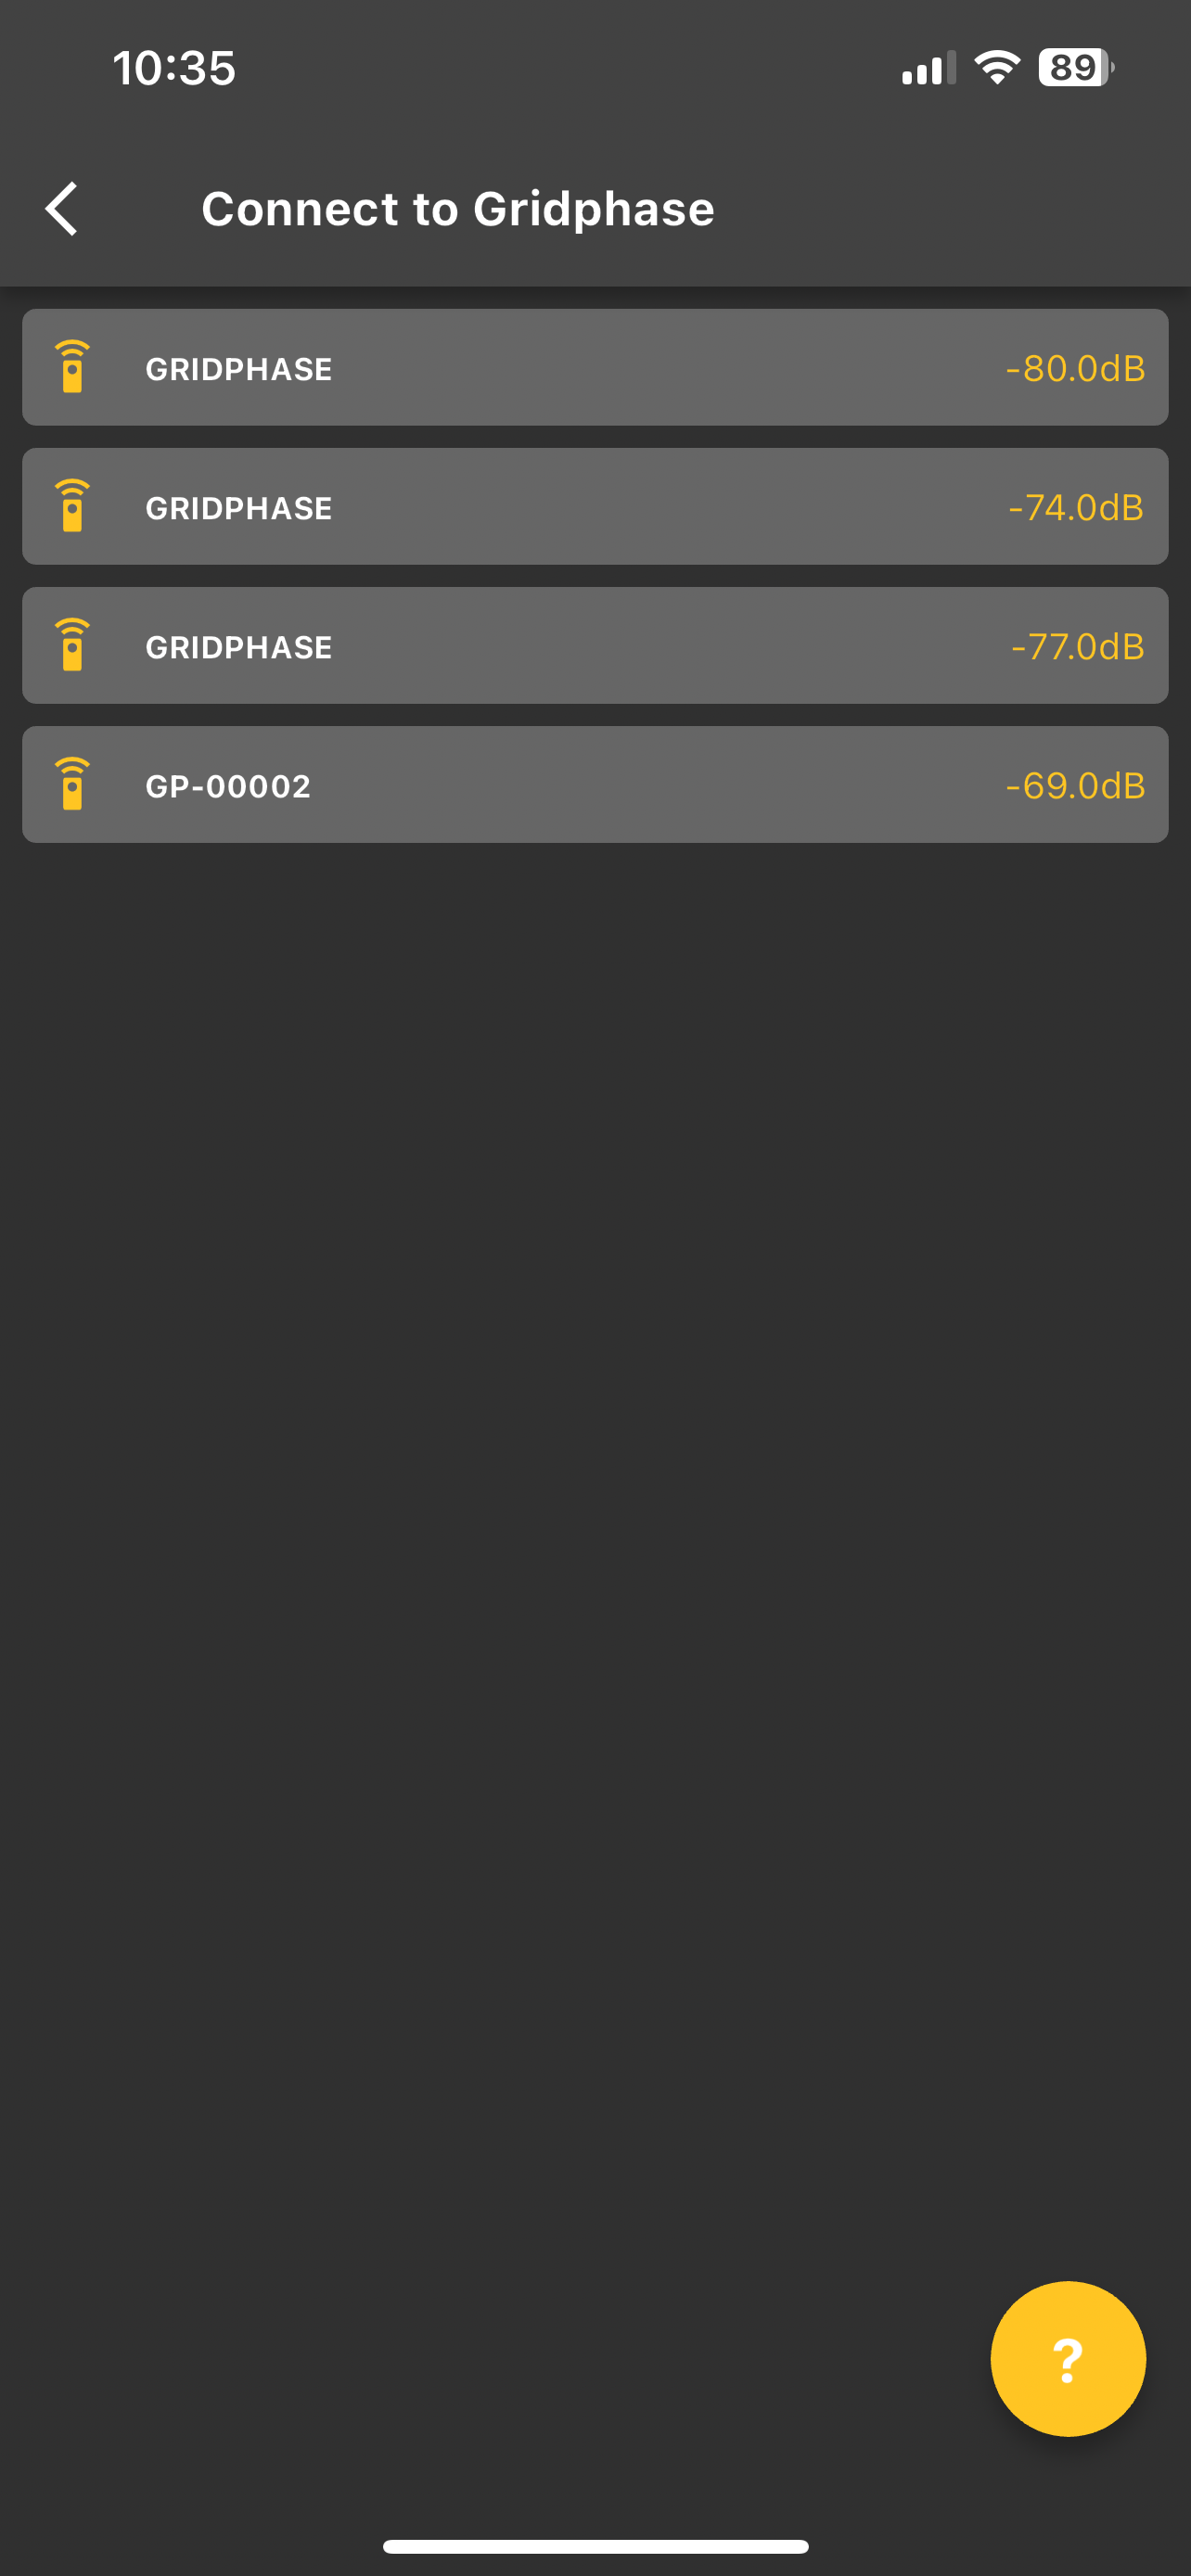
- Tap on the settings button to view available Gridphase devices.
- Choose your device from the list to begin pairing.
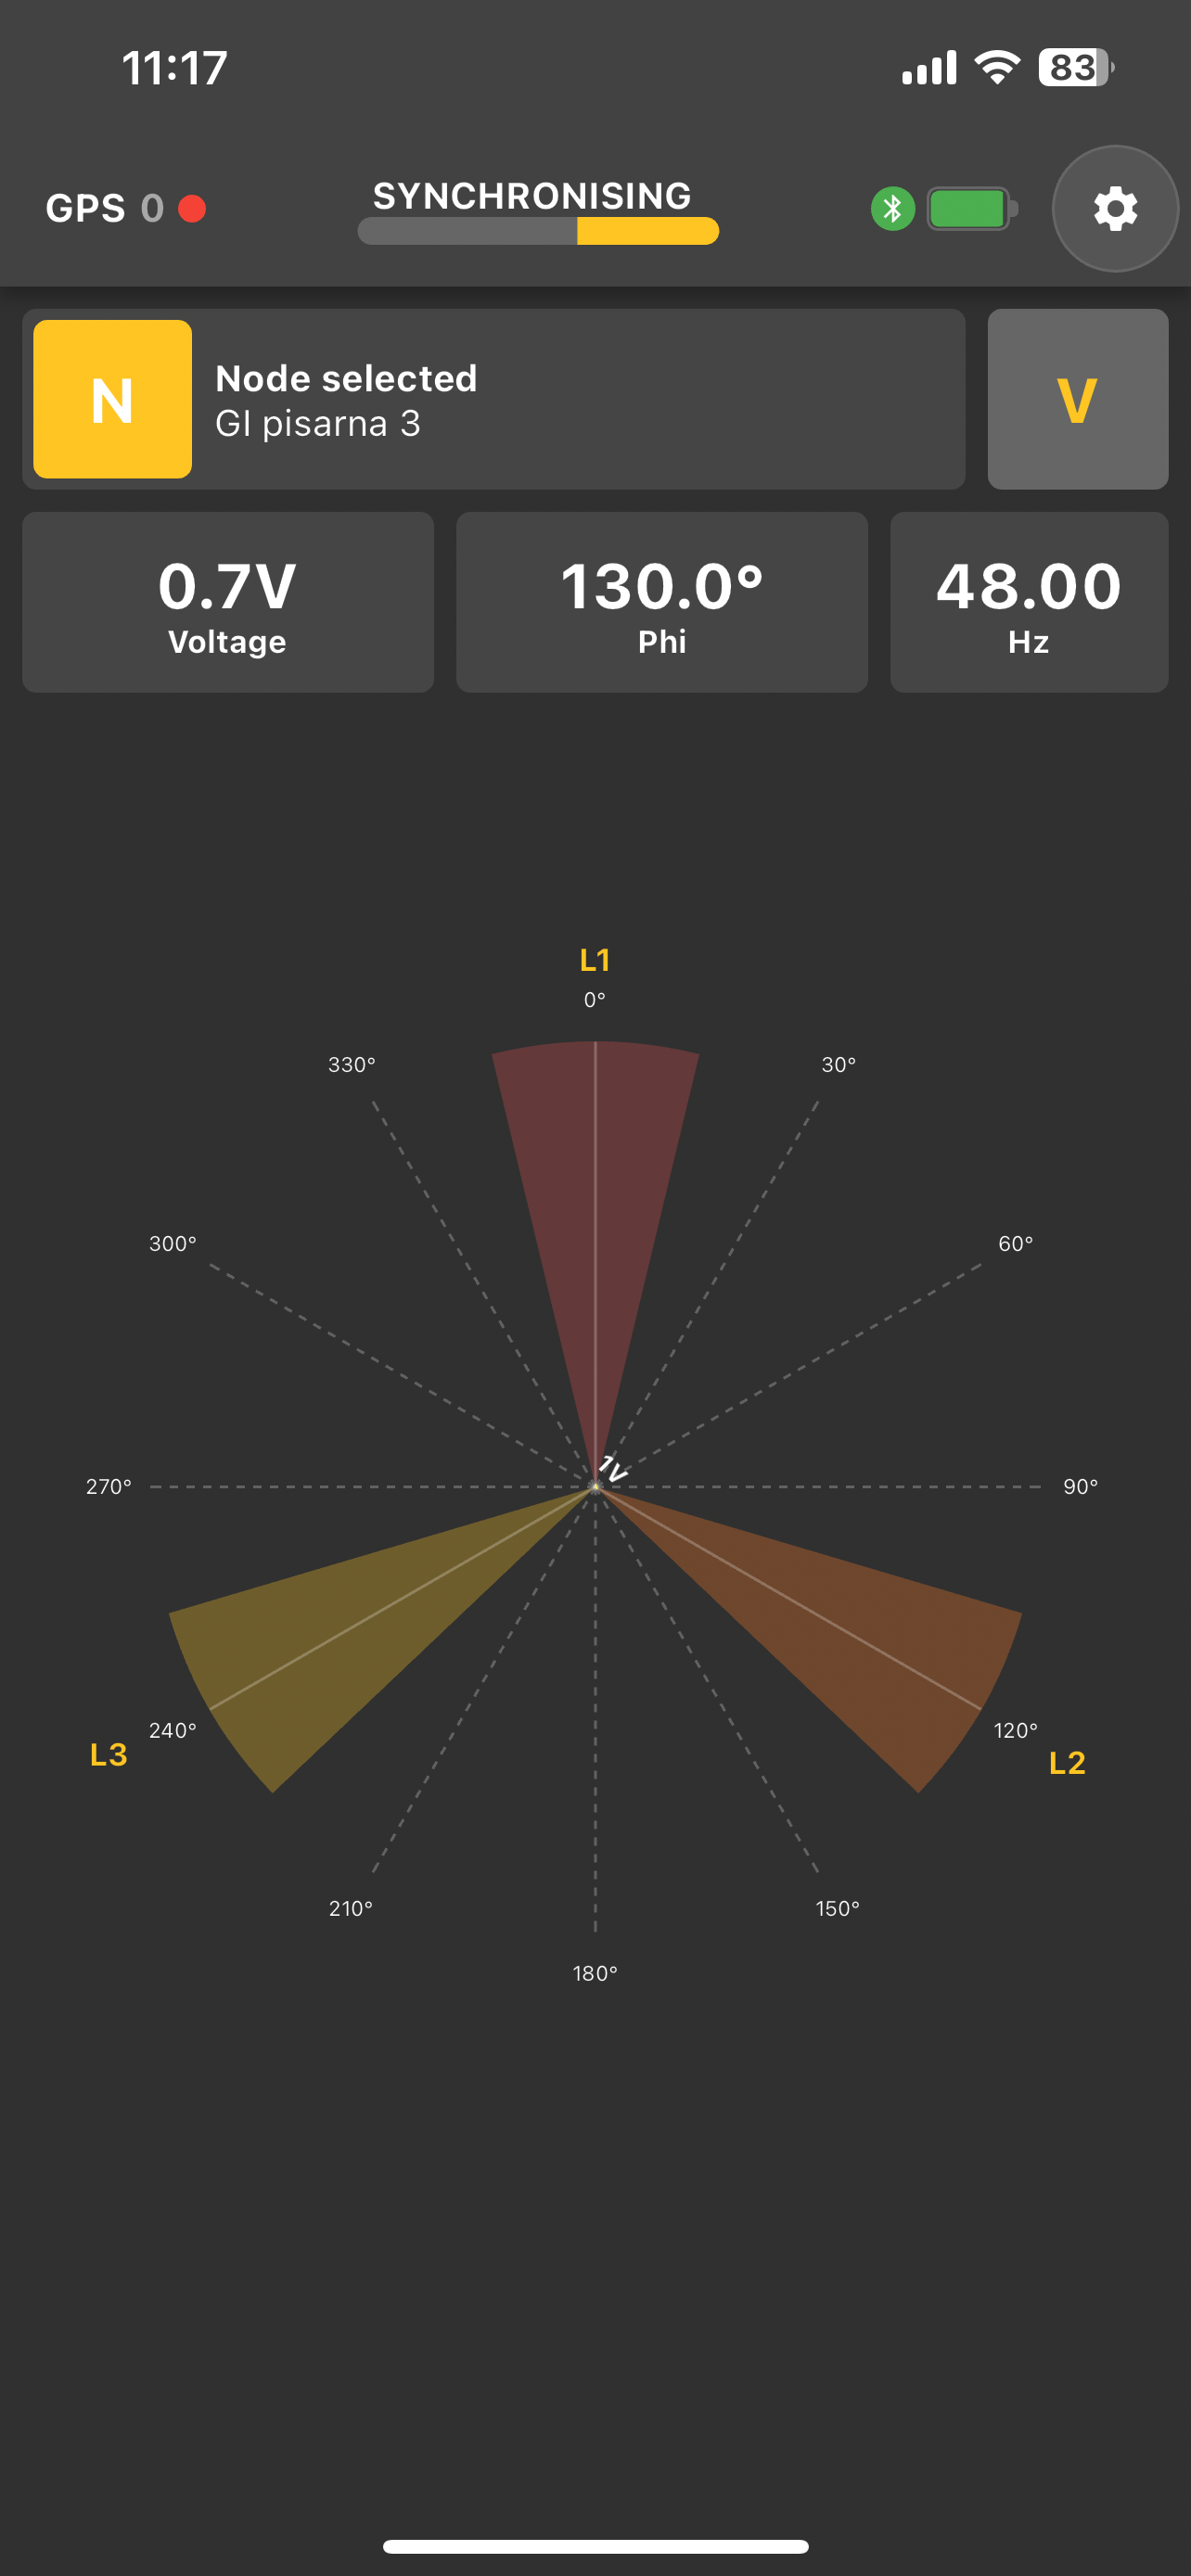
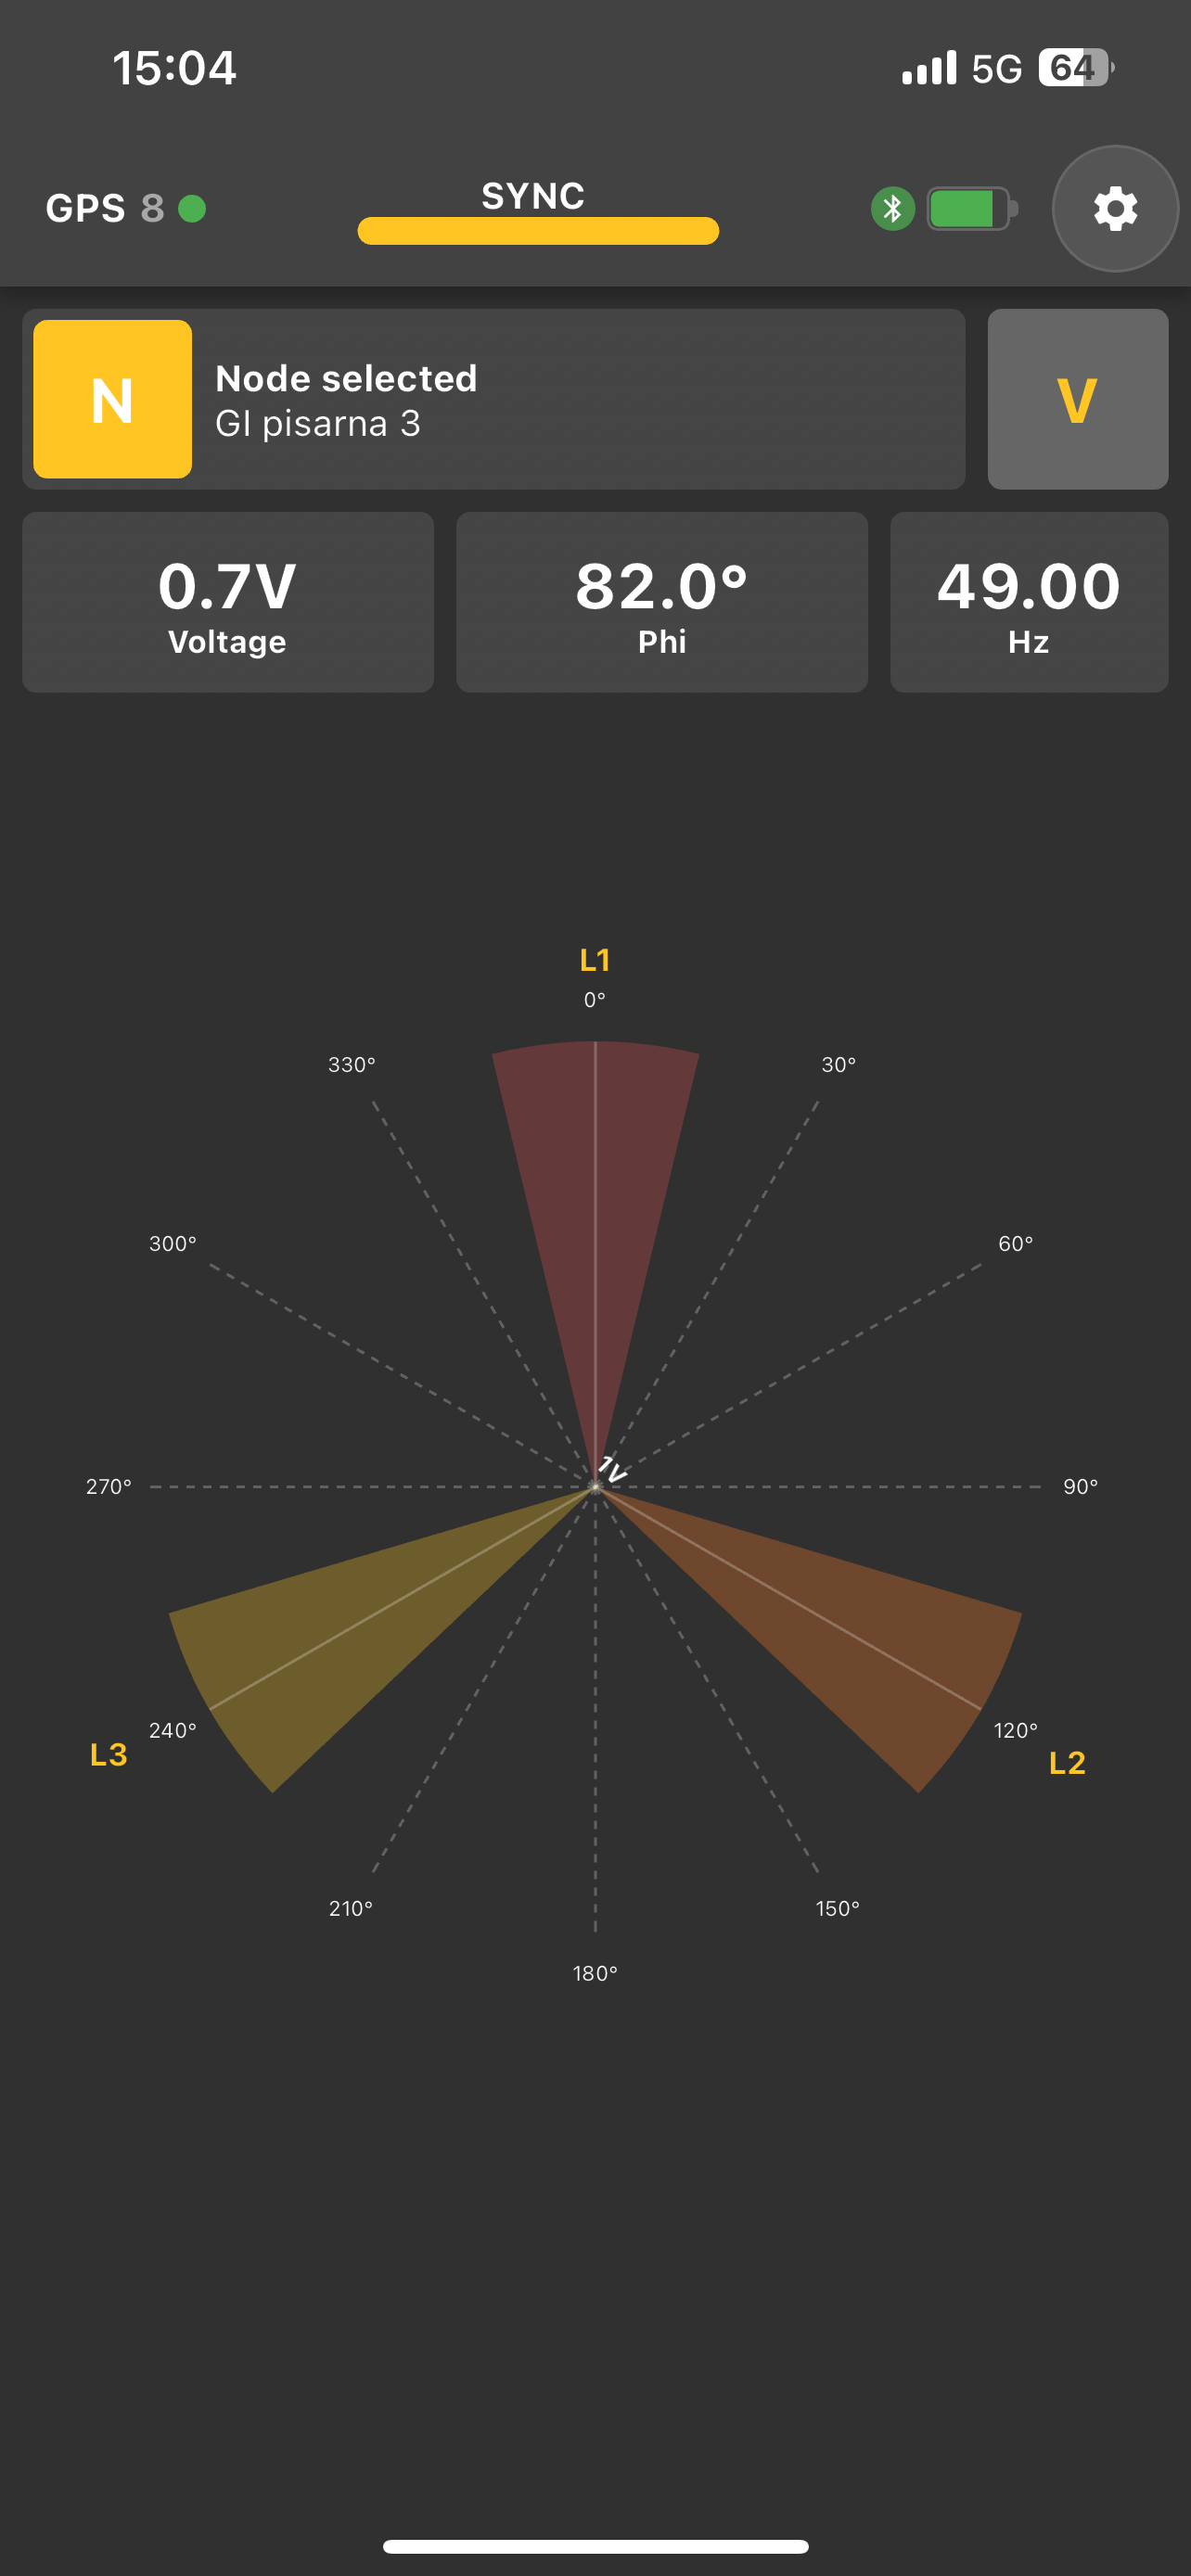
- Once paired, the Gridphase status bar in the app displays:
- GPS status (number of visible satellites and GPS fix status)
- Synchronization status
- Battery level of your Gridphase device
Clock Synchronization
Device needs to be synchonized to GPS signal for the phase identification to be successful:
- Position yourself in a location with a clear view of the sky for optimal GPS signal.
- Wait for about 30 seconds for synchronization.
- Monitor the number of visible satellites. You need at least 4 for successful synchronization.
- Once a GPS fix is obtained, the GPS LED will light up, signaling the PPS timing signal's reception.
- Check the app for the 'synchronized' status and observe the SYNC LED illuminating.
Gridphase includes specialized internal circuitry allowing synchronization retention even without a live GPS signal. This enables measurements in areas without GPS coverage. The device will retain synchronization for 1 hour - you will see the SYNC bar decrease through time, giving you an idea of the time left.
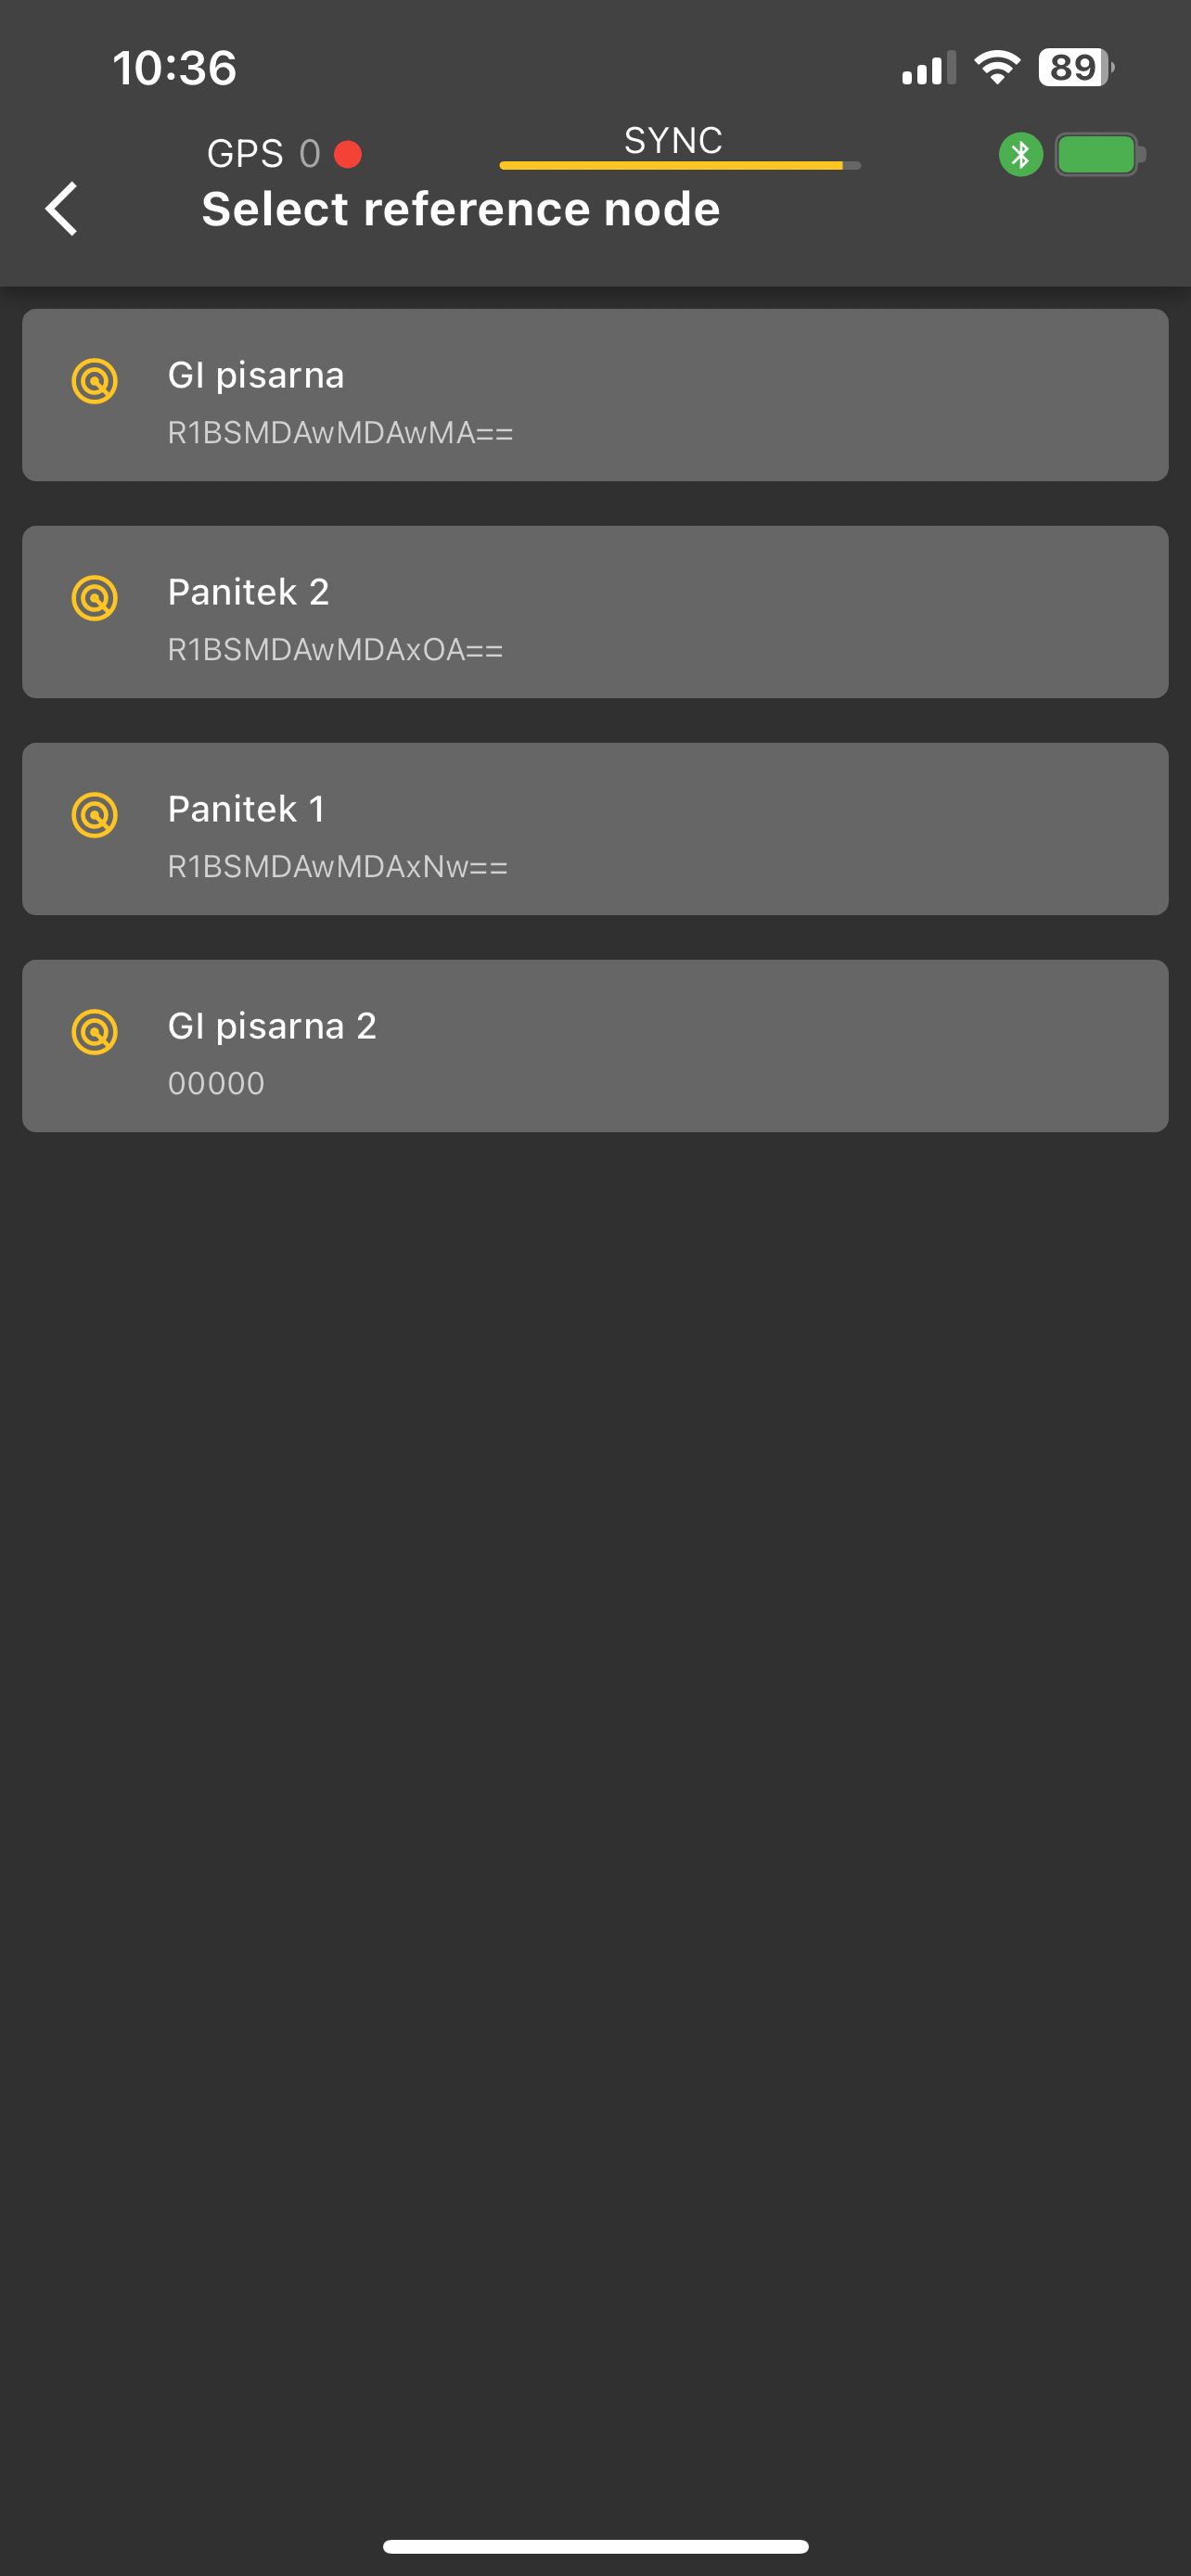
Selecting reference device
Next you need to select a reference point, towards which the measurements will be referenced.
Setting virtual point
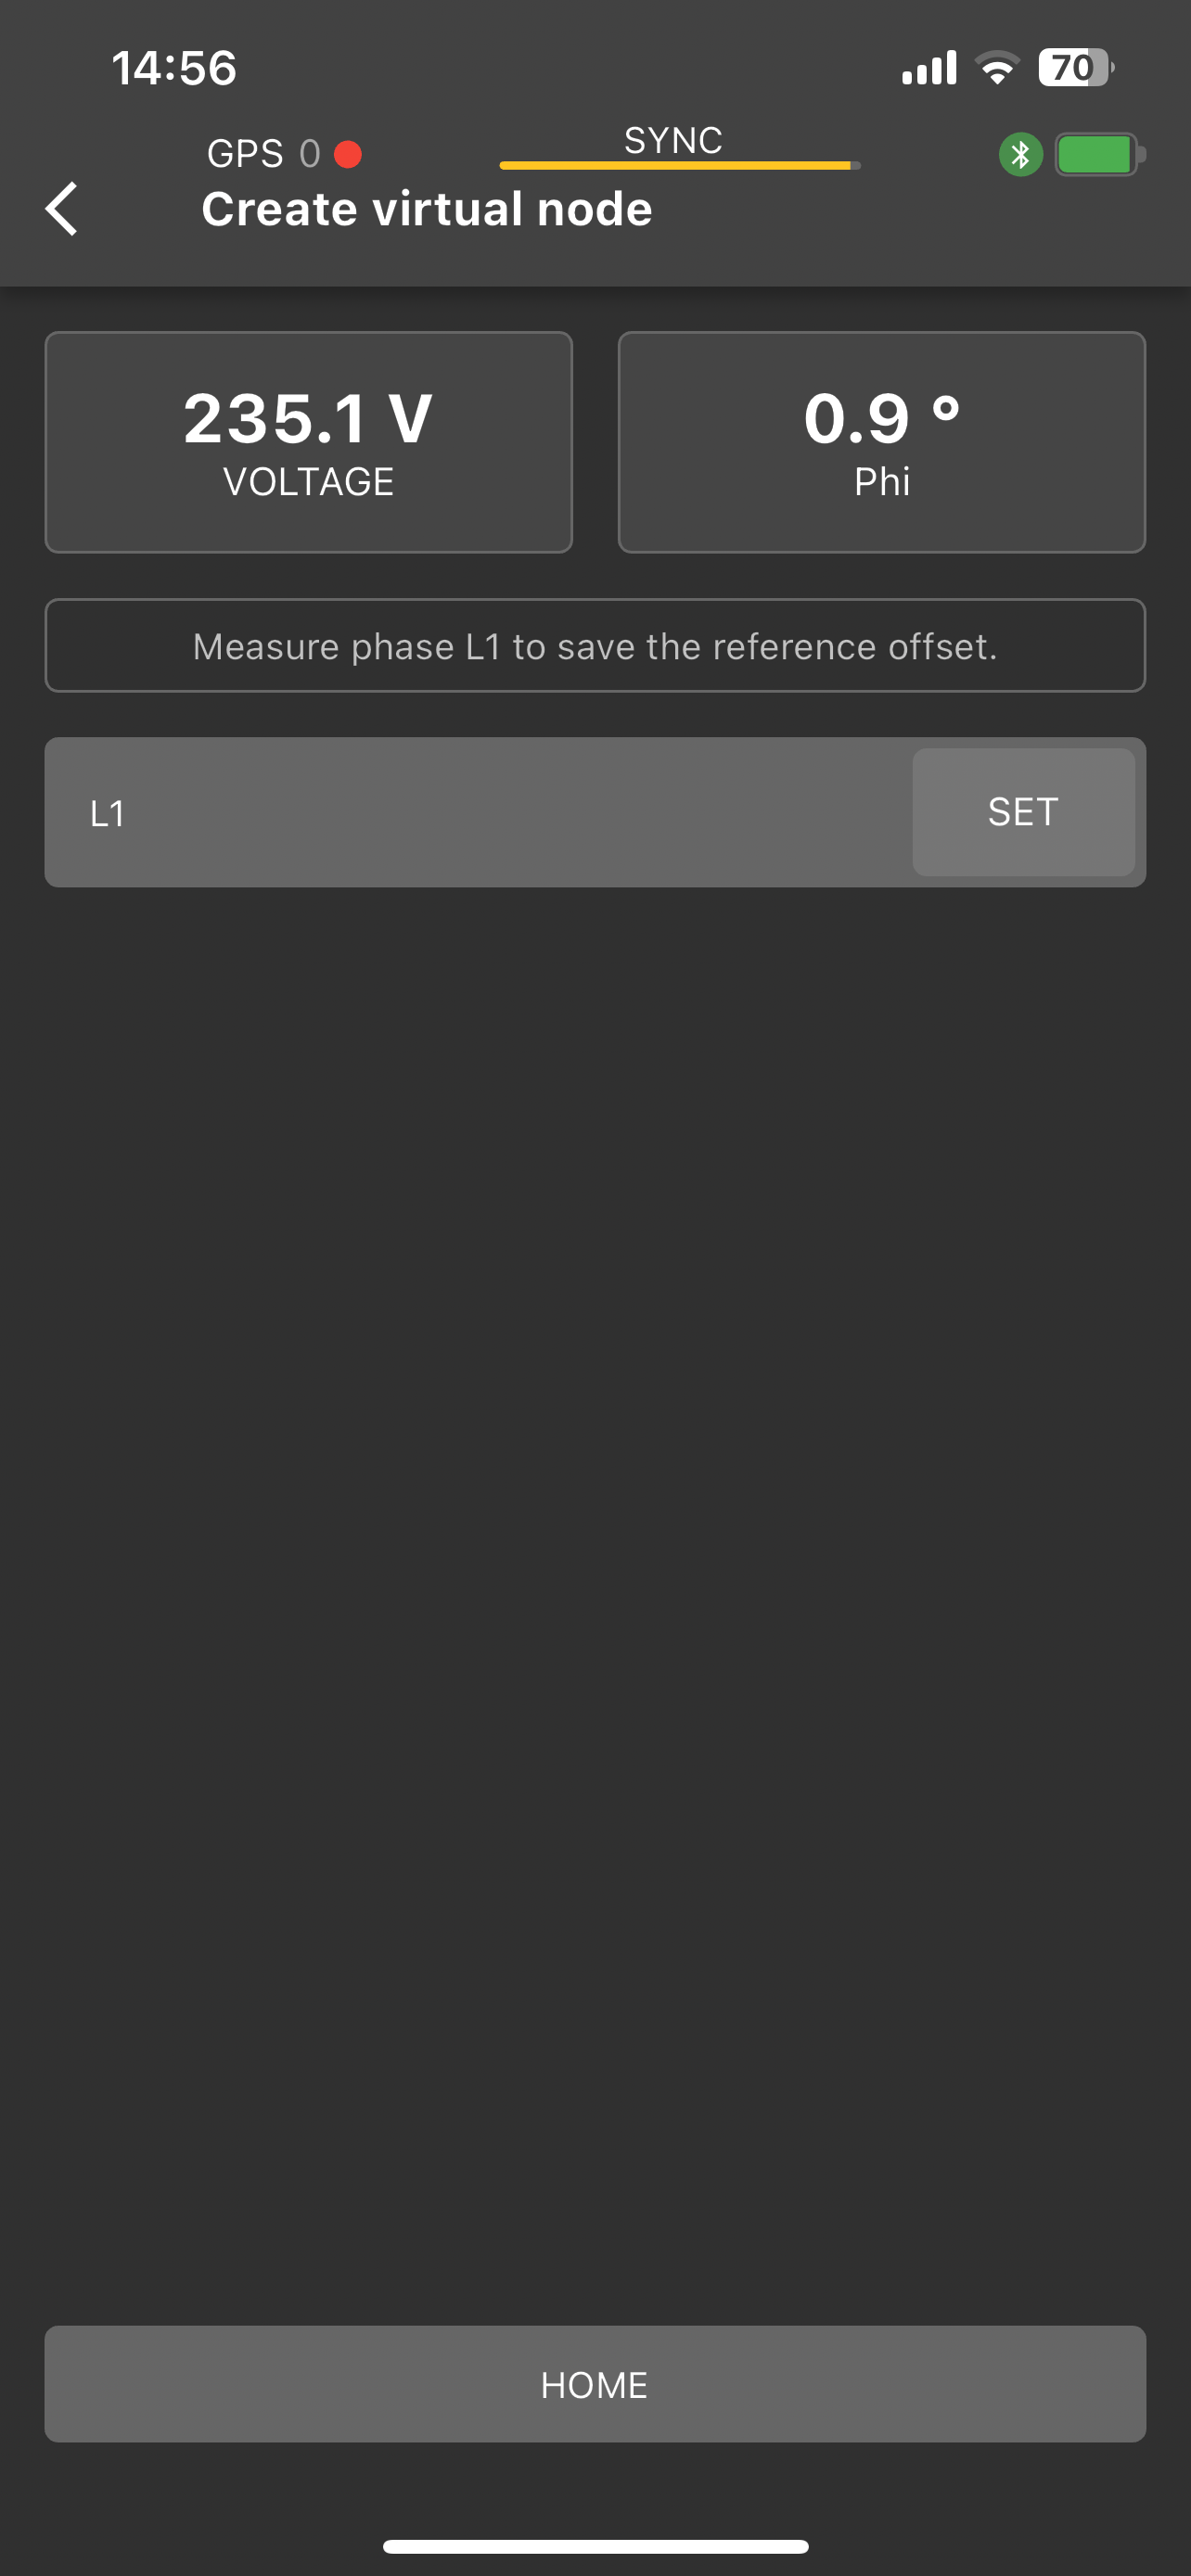
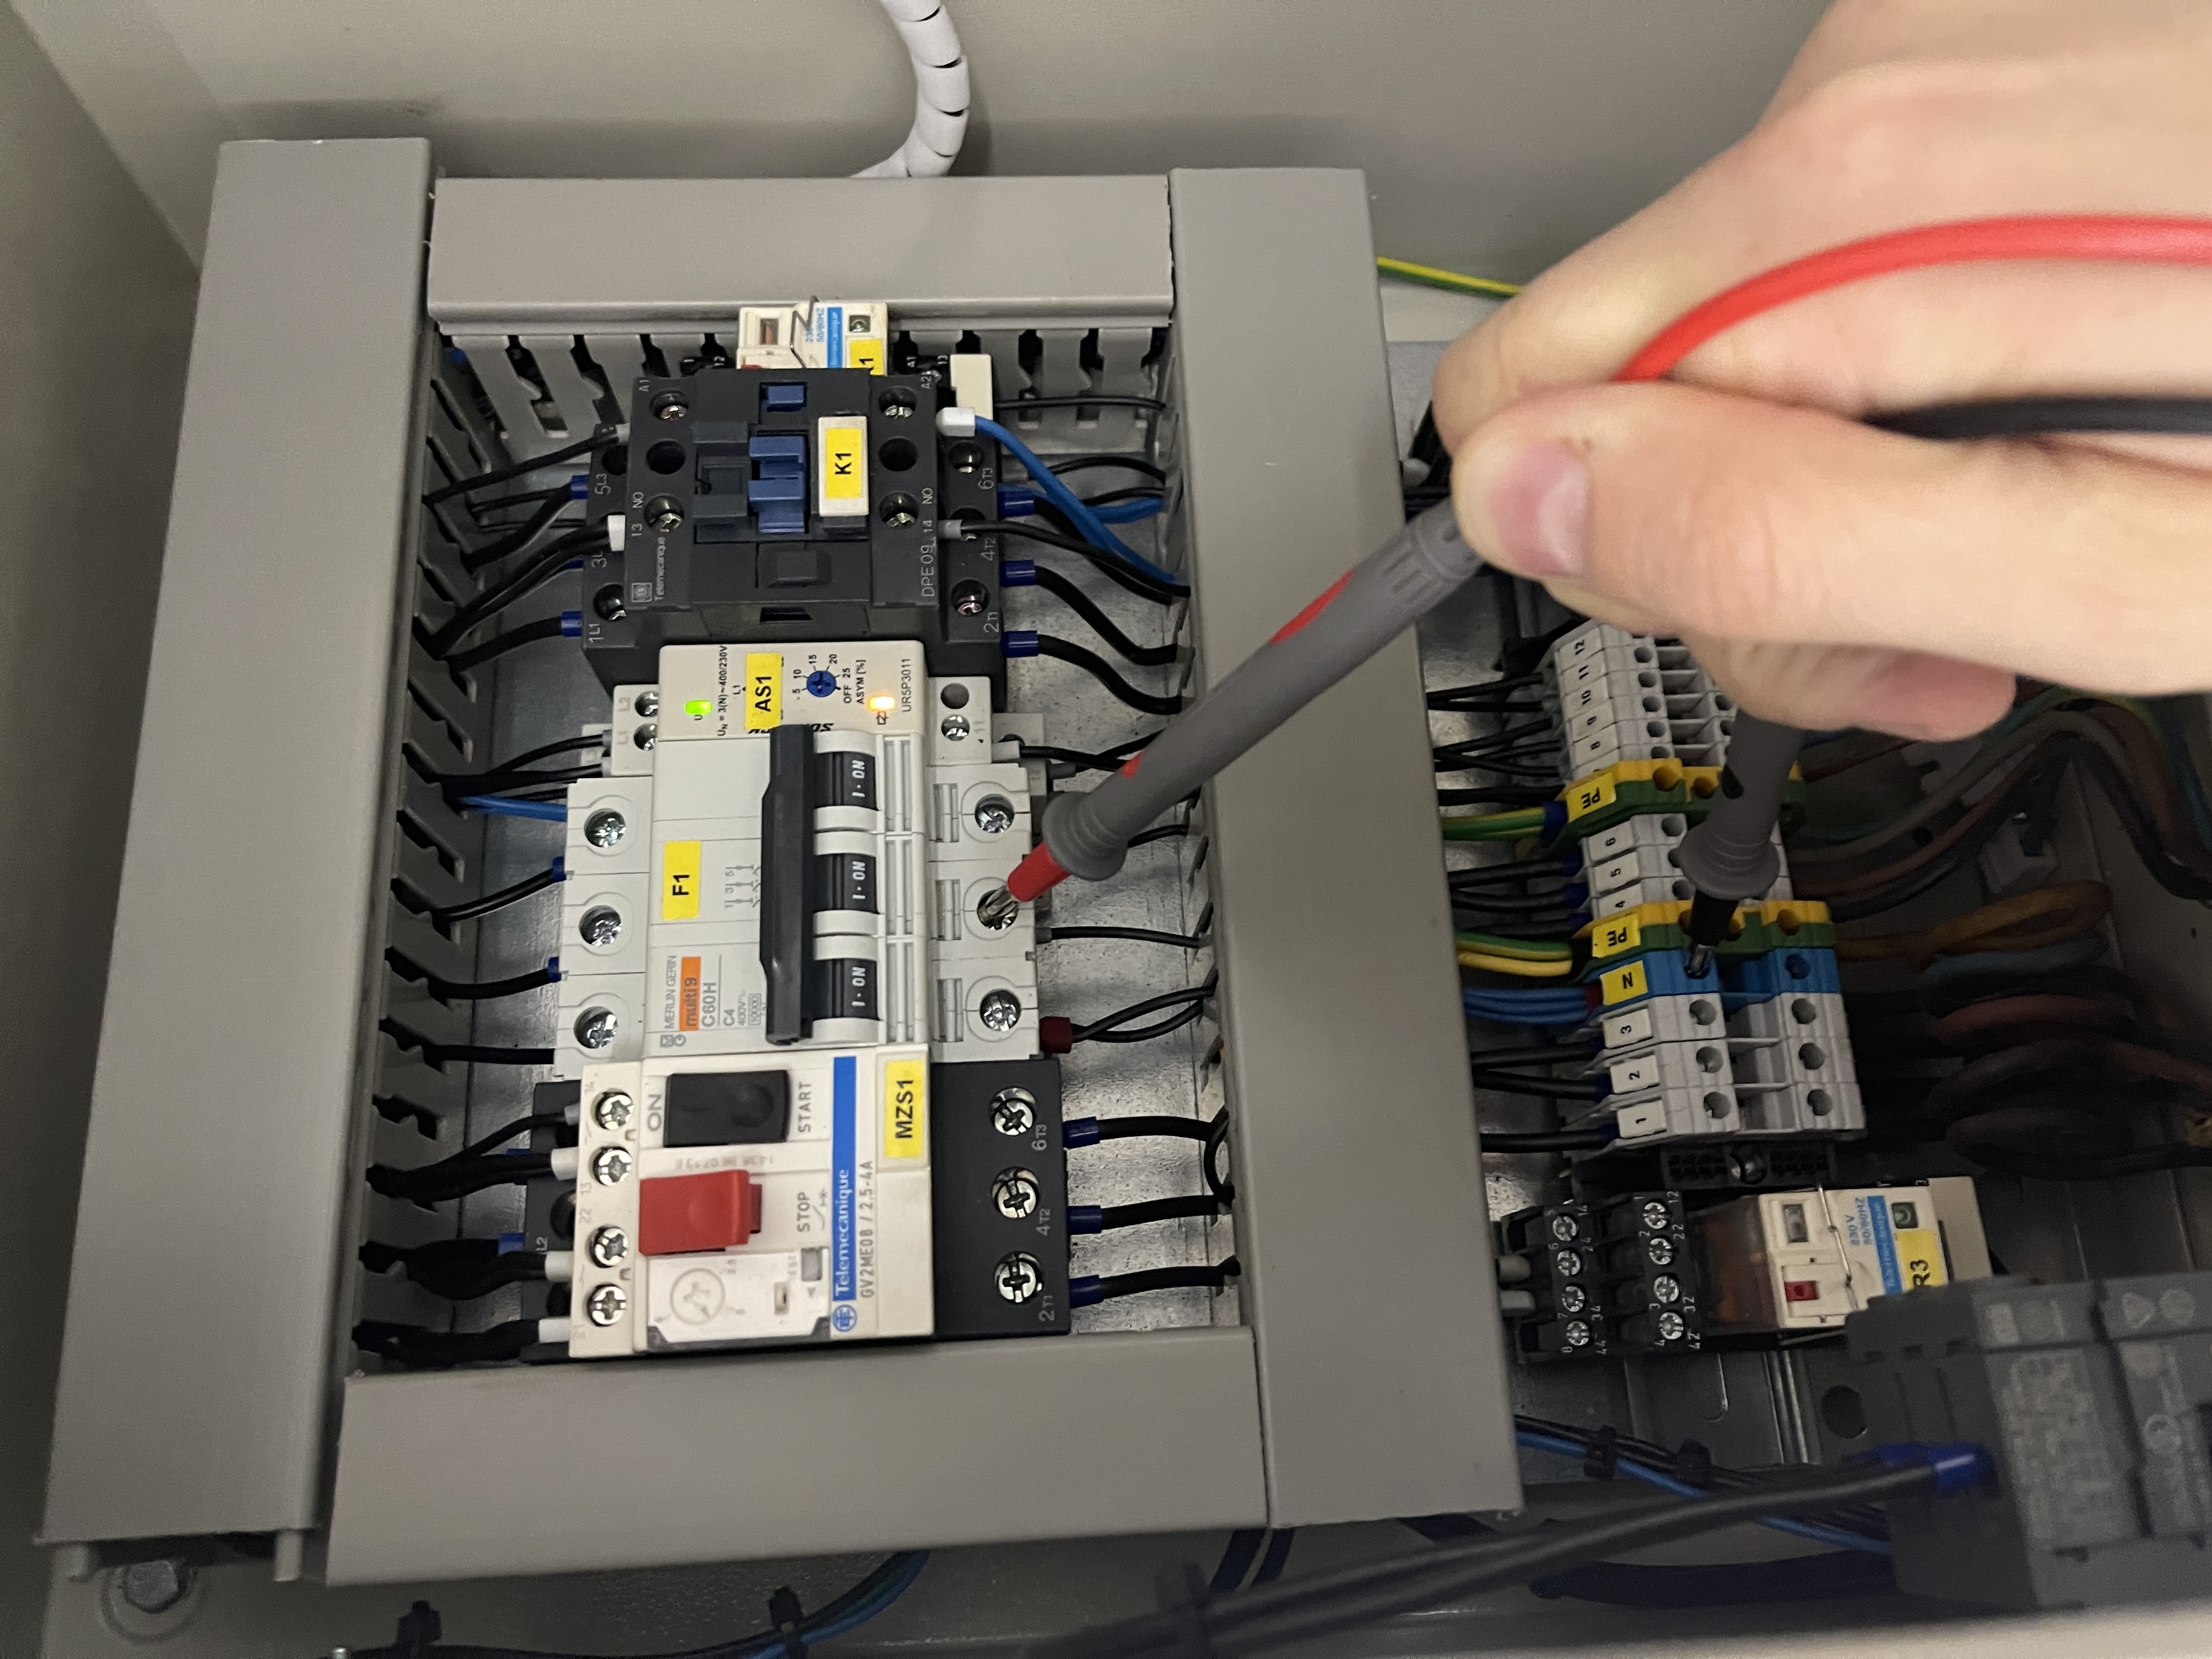
For setting the virtual reference point, that is, assigning L1 to a particular phase, regardles of the measurement you are getting as compared to the selected reference point, select the V on the main screen, measure the voltage on the line you want to assign as L1 and tap on SET.
See Gridphase operation for detalied explanation of Virtual point.
Identify the phase
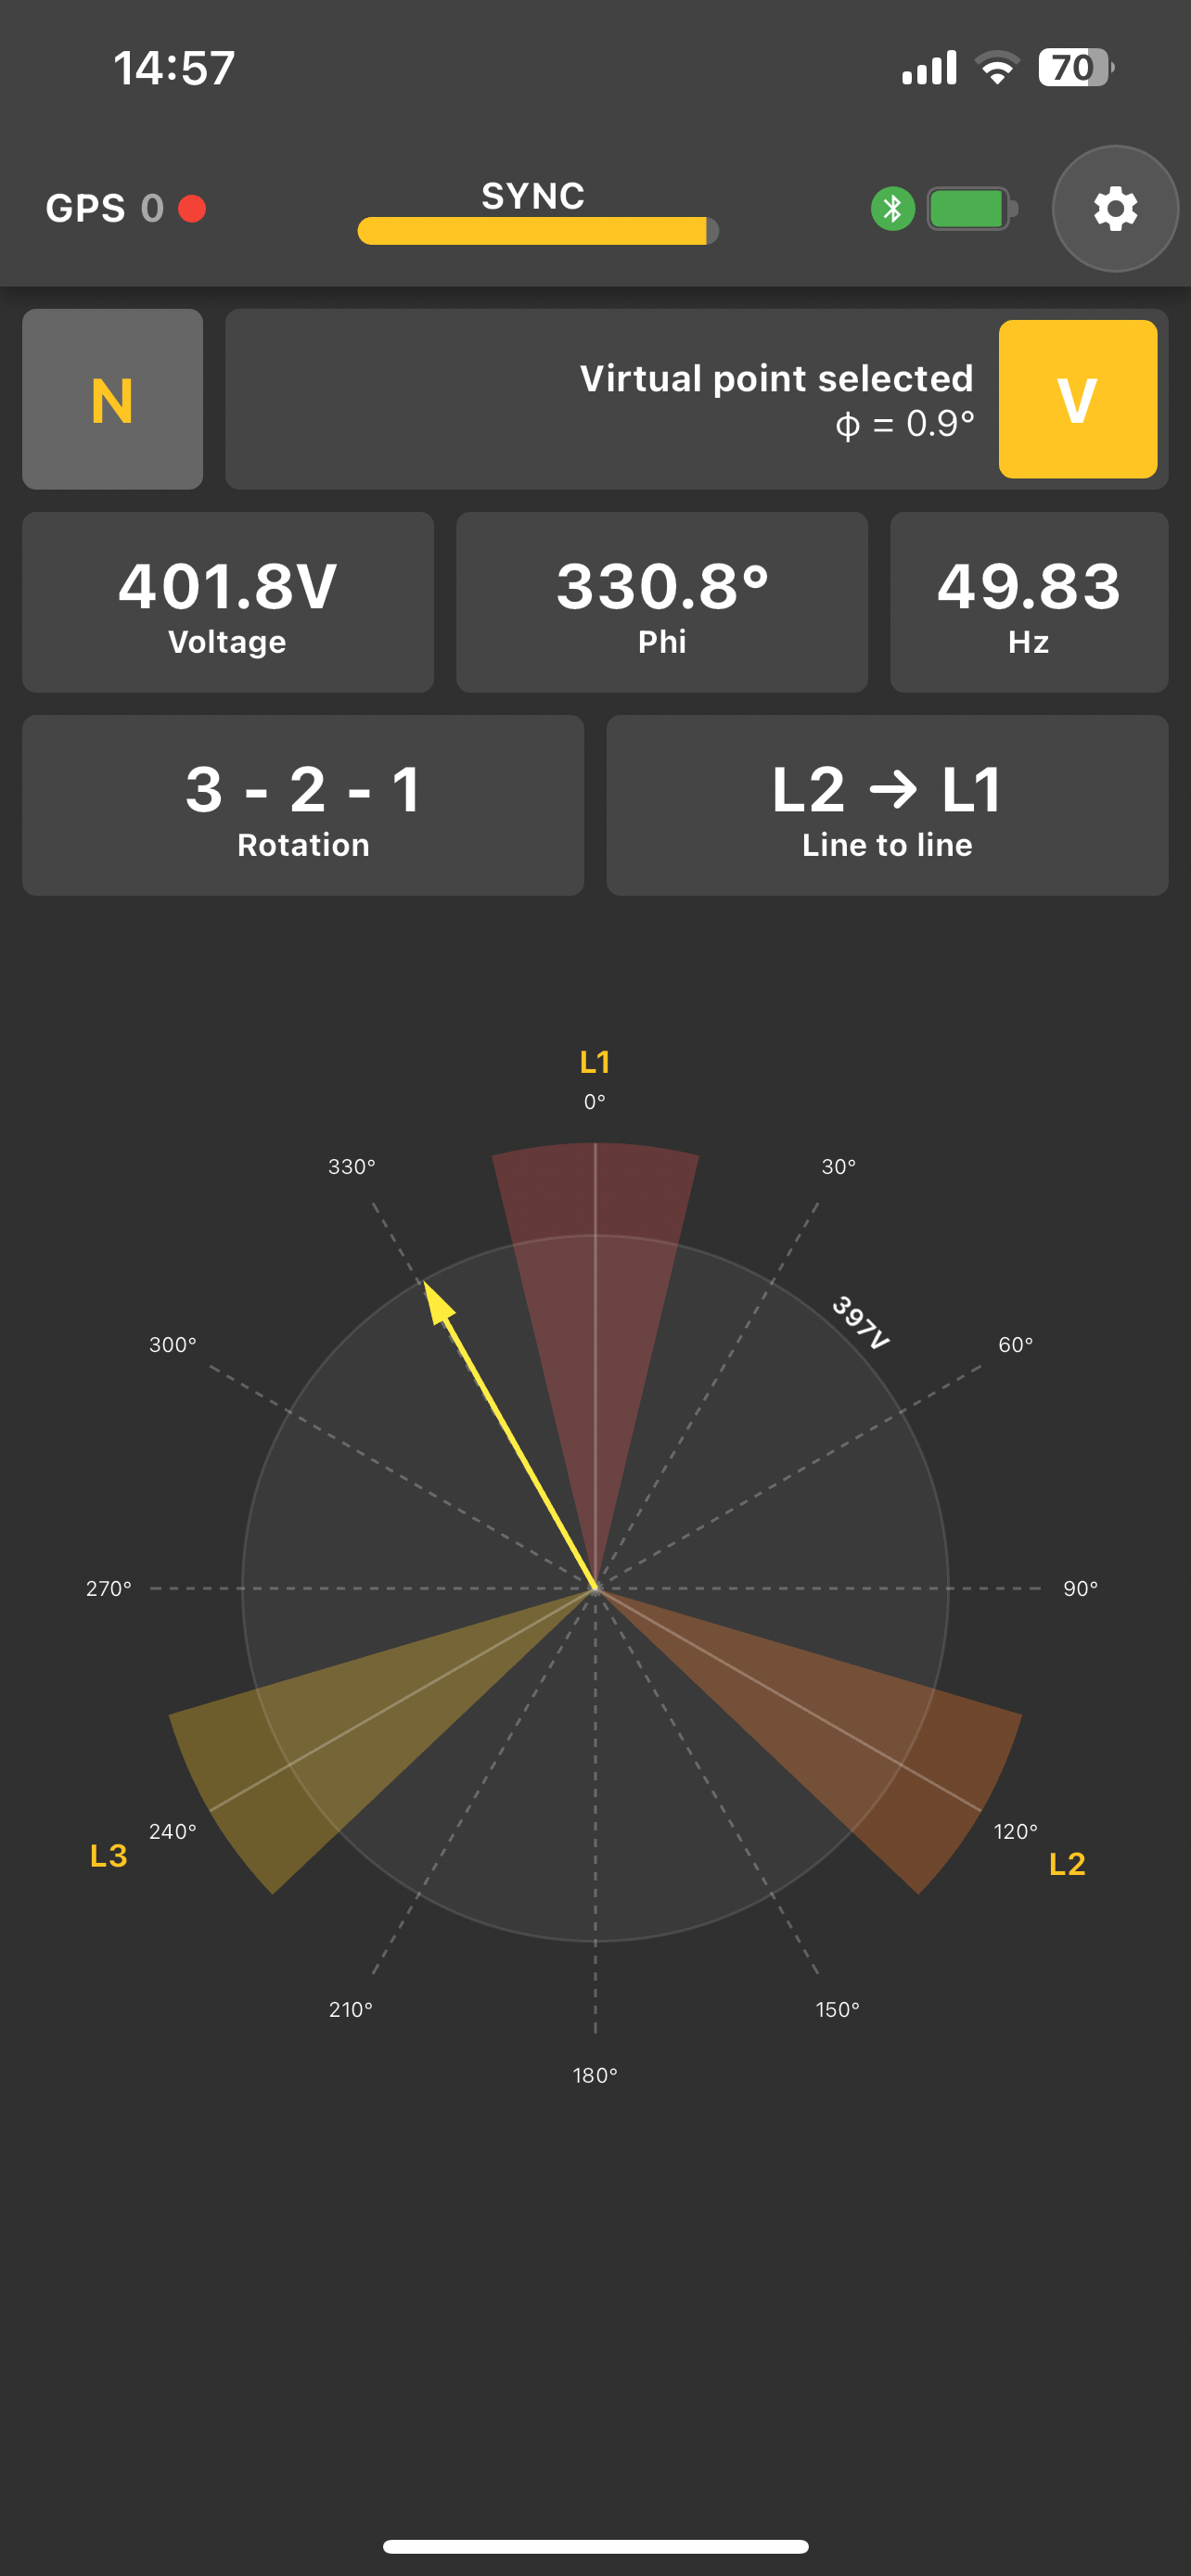
Identifying a phase is as easy as measuring voltage. Observe the measurement vector on the vector display.
Measurements on high-voltage require caution!
Identify the field rotation
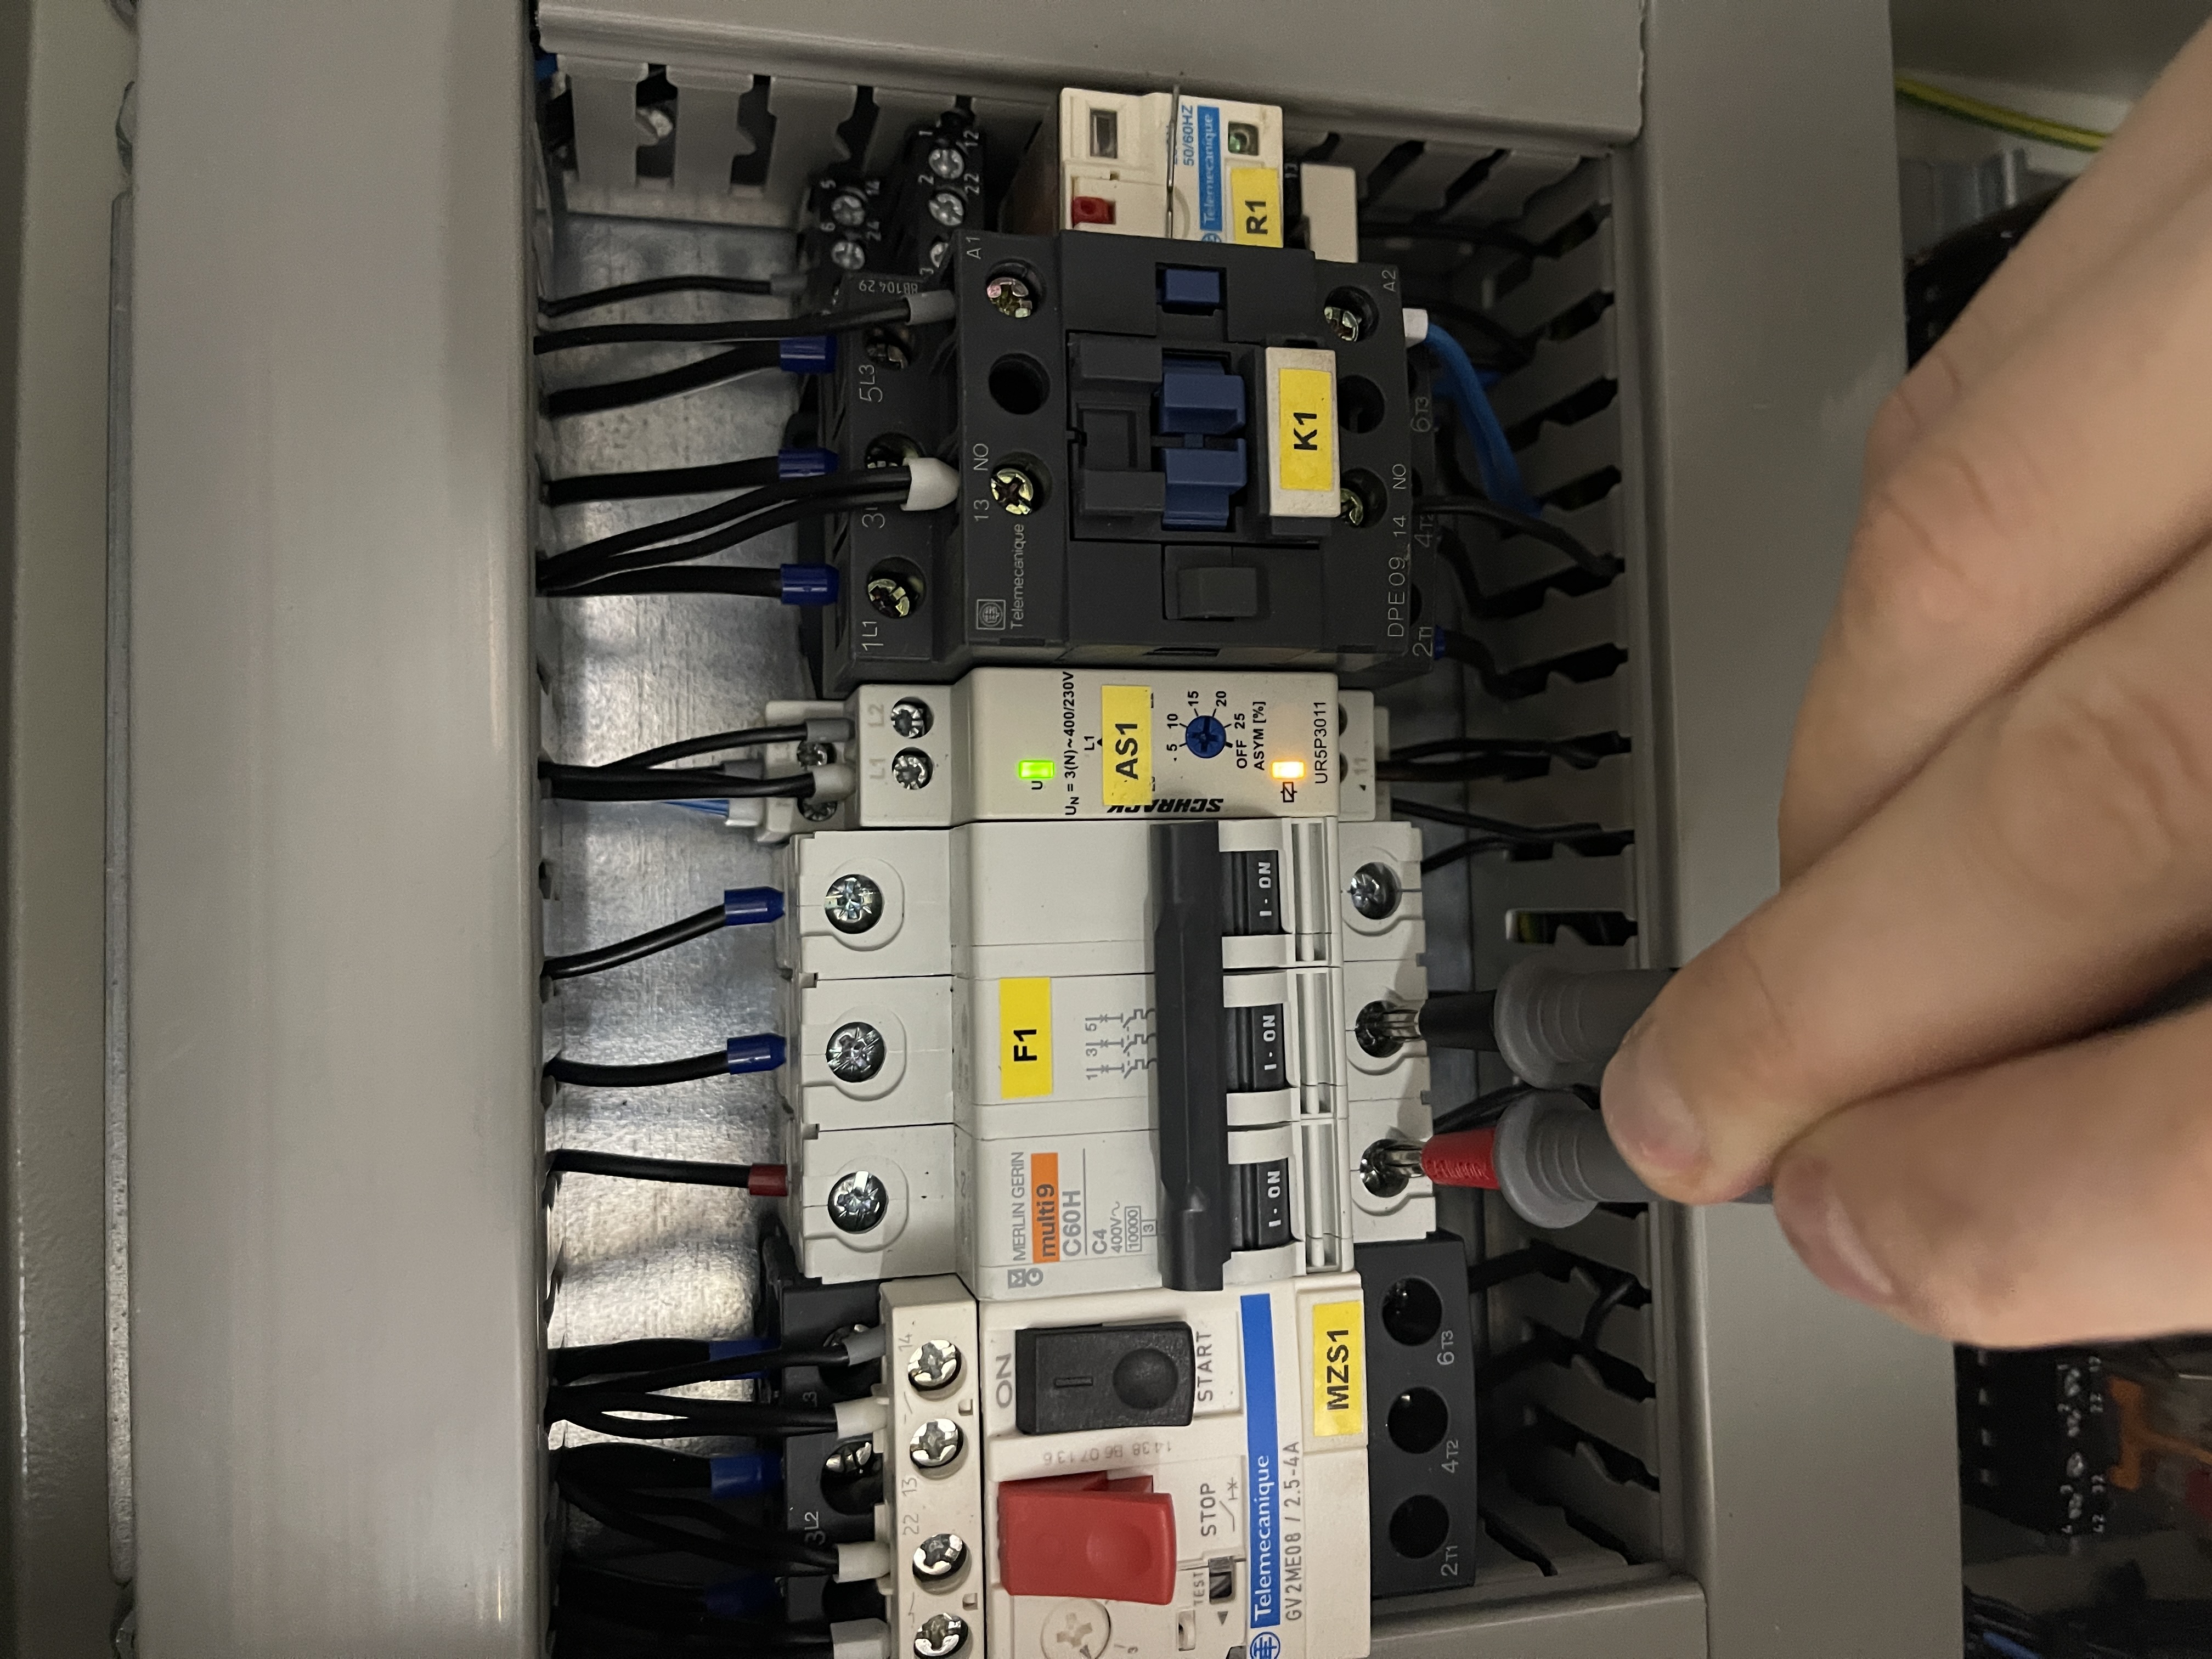
The device supports indication of field-of-rotation if you measure the voltage phase-to-phase as indicated in the image below.
The device and mobile application will show rotation direction.
Shutting down the device
Hold the power button for 2 seconds.
FAQs and Troubleshooting:
- Device indicates low battery state, I was charging the device for two hours and it is still the same. The device itself features 5600mAh li-ion battery and the charging current is limited to 500mA, which means that the device will charge for 11 hours from empty to fully charged.

